
How to Choose a Hiking Trail
9 min read
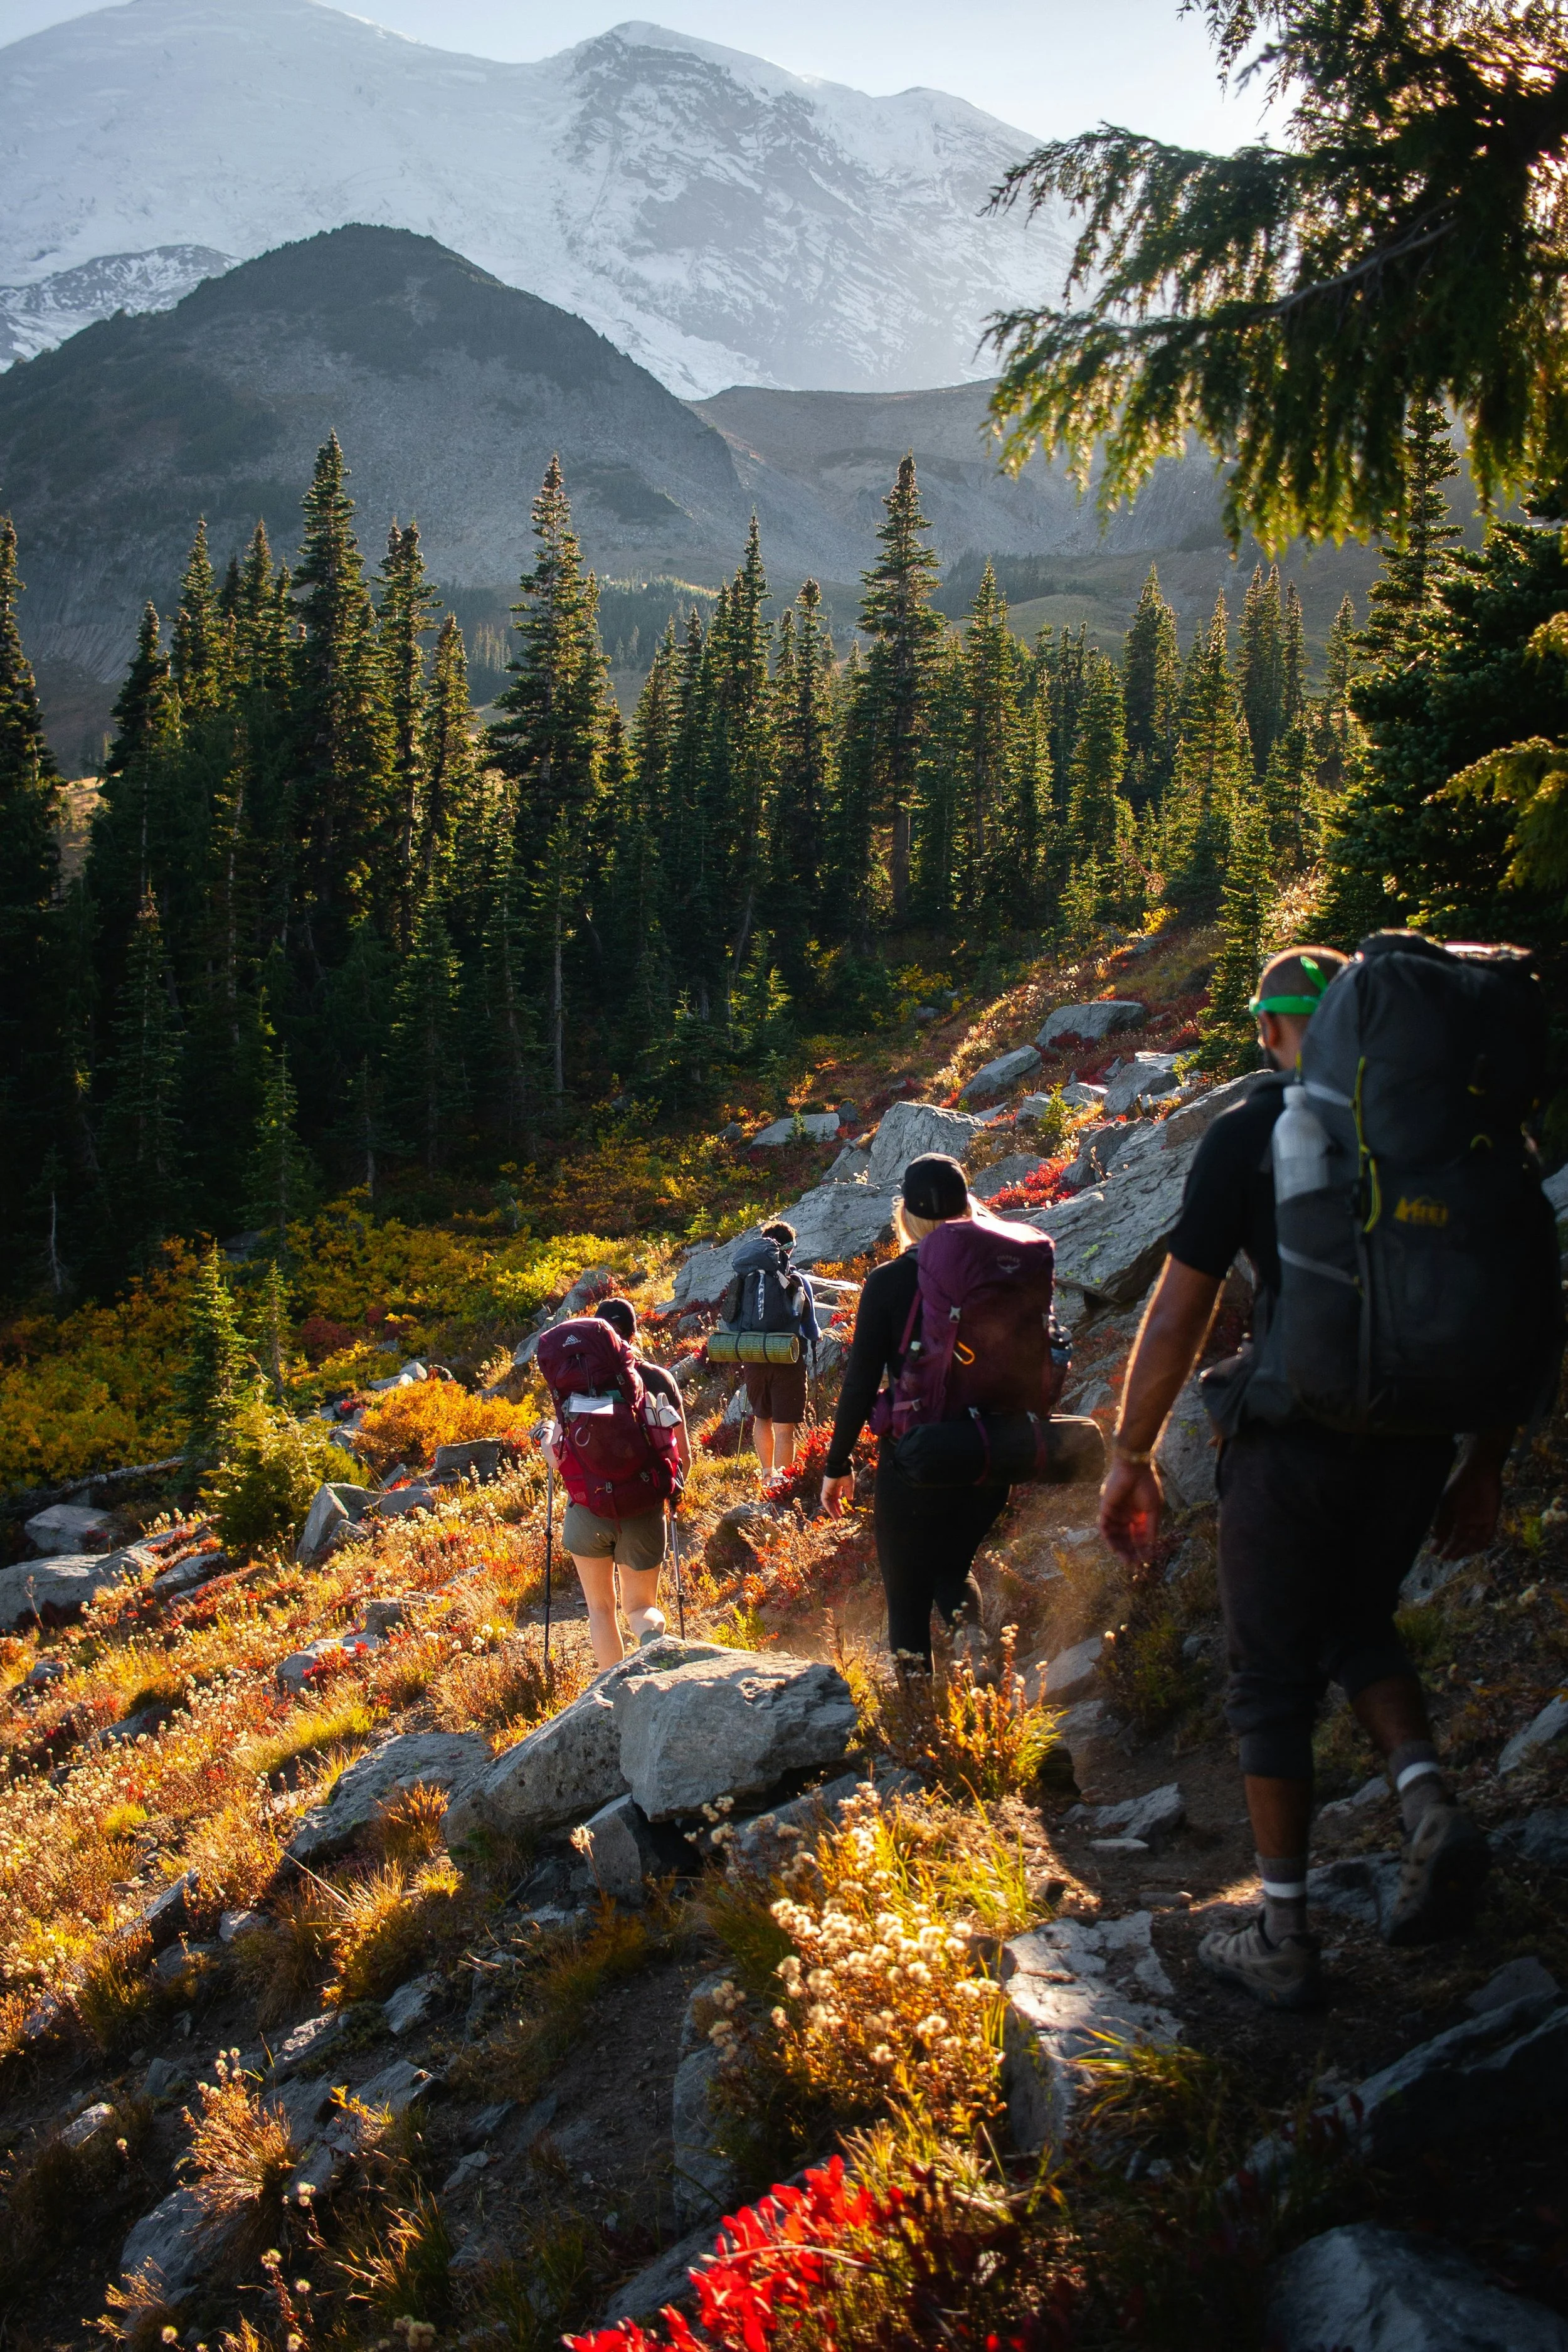
Choosing a hiking trail can be surprisingly difficult when you’re just starting out. You open a hiking app and see something like 12 km • 650 m elevation gain • 4 hours • Moderate - but what does that actually mean?
Is 12 km easy? Is 650 metres a lot? Does “moderate” mean the same thing on every website? Not really.
The difficulty of a hike comes from a combination of distance, elevation gain, terrain, weather, technical sections and your own experience. The goal isn’t to choose the hardest trail you think you can survive. It’s to choose a route you can comfortably enjoy and complete safely.
Distance Is Only Part of the Story
Distance is usually the first number beginners look at. A 5 km hike sounds easy. A 20 km hike sounds difficult. But distance alone tells you very little. Compare 10 km on a flat forest path with 10 km climbing a rocky mountain. They may have exactly the same distance, but they can feel completely different.
Distance tells you how far you’ll travel. It doesn’t tell you how much you’ll climb, how rough the trail is, or how slowly you’ll need to move.
Beginner tip: Never judge a hiking trail using distance alone.
Understand Elevation Gain
Elevation gain is one of the most important numbers for beginners to understand. It tells you the total amount of uphill climbing you’ll do during the hike.
If your route starts at 500 metres and climbs directly to 1,000 metres, that’s roughly 500 m of elevation gain. But elevation gain can also accumulate. For example, if you climb 200 m, descend 100 m, climb another 300 m, descend again and later climb another 200 m, your total elevation gain is around 700 m — even if the highest point isn’t 700 metres above where you started.
So is 500 m a lot? It depends. Your fitness, trail surface, distance, altitude and gradient all matter. But a beginner should understand that 10 km + 100 m elevation and 10 km + 1,000 m elevation are two very different hikes. The more elevation gain you add, the more work your legs have to do. And remember: after climbing up, you’ll normally still have to come back down.
Steepness Matters Too
Even elevation gain doesn’t tell the whole story. Imagine two trails both gain 600 metres. One gains those 600 metres gradually over 8 km. The other gains them in just 2 km. The second route is much steeper.
Some hiking apps show gradient, usually as a percentage. You don’t need to become obsessed with the exact number, but looking at the elevation profile can help you understand whether the climbing is gradual or short and extremely steep. That information can be much more useful than simply seeing “600 m elevation gain.”
Look at the Elevation Profile
Many hiking apps show a small graph representing the route. Don’t ignore it. An elevation profile shows you where the climbing and descending happen. A route may climb steadily for the first half and then descend. Another route may repeatedly climb and descend all day. Another may look easy until the final 2 km, where nearly all the elevation gain happens.
This helps you understand what your day will actually feel like. Two hikes with identical distance and elevation gain can still have completely different profiles.
Terrain Can Change Everything
A kilometre isn’t always a kilometre. Walking 1 km on a smooth gravel path is completely different from covering 1 km across loose rocks, tree roots, deep mud, snow, scree or steep rocky steps.
Rough terrain slows you down and requires more concentration. It can also make the route much more tiring.
When researching a trail, don’t only look at numbers. Read the description and look at recent photos if available. Words such as rocky, exposed, scrambling, scree, steep, technical or unmaintained should make you investigate further before choosing the route.
What Does “Technical” Mean?
A technical trail requires more than simply walking. That might include using your hands on rocks, scrambling, crossing steep or exposed terrain, using chains or cables, climbing ladders, difficult river crossings, snow or ice.
There’s an important difference between physically difficult and technically difficult.
A long uphill forest trail might be physically exhausting but technically simple. A short exposed scramble might not require much fitness, but it could require balance, confidence and specific skills. Don’t assume a short trail is automatically beginner-friendly.
What Is Scrambling?
Scrambling is somewhere between hiking and climbing. You may need to use your hands for balance or to climb over rocks. Easy scrambling can be fun and accessible. But as scrambling becomes steeper and more exposed, falling can have serious consequences.
If a route description mentions scrambling and you’ve never done it before, look carefully at how difficult it is, how exposed it is, whether ropes or climbing equipment are required, and whether there are easier alternatives.
A trail described casually as “a little scramble” by an experienced mountaineer might feel completely different to a beginner.
What Does “Exposure” Mean?
Exposure describes terrain where a fall could have significant consequences because of the steep drop around you. For example, you may be walking along a narrow ridge with a steep slope beside you. The actual walking might not be technically difficult, but if you’re uncomfortable with heights, that section can feel extremely challenging.
This is another thing distance and elevation numbers can’t tell you. Route reviews and photos can be very useful for understanding exposure before you arrive.
Difficulty Ratings Aren’t Universal
You may see routes labelled Easy, Moderate or Hard, or colours such as green, blue, red and black.
Be careful. There is no single worldwide hiking difficulty system. A “moderate” route on one hiking app may be considered difficult somewhere else. Different countries and mountain organisations may also use their own trail-grading systems. Instead of trusting the word Moderate, look at what makes the trail moderate. Is it the distance? Elevation? Terrain? Exposure? Technical sections?
The description behind the rating is more useful than the rating itself.
Estimated Time Is Only an Estimate
A route might say Estimated time: 4 hours, but that doesn’t mean you have exactly four hours of walking ahead. Your actual time depends on your fitness, experience, elevation gain, trail conditions, weather, how often you stop, and the size and speed of your group. And of course — photos.
If you’re constantly stopping to enjoy views, your hike will take longer, and there’s absolutely nothing wrong with that. For your first hikes, give yourself more time than the listed estimate, particularly on mountain terrain.
Weather Can Change the Difficulty Rating
A trail isn’t permanently “easy.” Conditions matter.
An easy trail in dry summer weather can become significantly harder when you add rain, mud, strong wind, fog, snow or ice. Even temperature matters. A long exposed climb at 30°C can be much more demanding than the same trail at 15°C.
Before choosing a route, ask: What will this trail be like in tomorrow’s conditions? Not just: What is this trail normally like?
Seasonal Conditions Matter
Some trails that are ordinary hikes in summer become technical winter routes. Snow can hide the path. Ice can make slopes dangerous. River crossings can become deeper after rain or snowmelt. Mountain passes may still contain snow even when valleys are warm. Always check current conditions, particularly early or late in the season. A photo someone uploaded in August doesn’t tell you what the trail looks like in April.
Loop vs Out-and-Back
Route shape also matters.
An out-and-back route means you follow the same route to your destination and return the same way. One advantage for beginners is that the trail becomes familiar on the return journey. It’s also easy to turn around early.
A loop route follows a different route back. This can make the hike more interesting, but once you’ve passed certain points, continuing may sometimes be easier than reversing the entire route.
Neither is better. But for your first adventures, an out-and-back route can make distance and turnaround decisions easier to manage.
Don’t Forget the Start of the Trail
The route itself isn’t the only thing worth researching. Check where the trail actually begins, whether there is parking or public transport, whether access roads are open, whether permits are required, park opening times, and whether dogs are allowed if relevant. Sometimes the hardest part of a hike is discovering that Google Maps has taken you to the wrong side of the mountain.
Read Reviews — But Carefully
Recent reviews can tell you useful things such as “The bridge is damaged,” “Still lots of snow near the summit,” “Trail closed after kilometre 6,” or “The river crossing is currently difficult.”
That information can be extremely valuable. But reviews are subjective. One person’s “Easy hike!” might come from someone who climbs mountains every weekend. Use reviews for conditions and specific details, not as the only measure of whether a trail is appropriate for you.
Choose for the Whole Group
If you’re hiking with other people, don’t choose the route based on the strongest person. Consider the least experienced hiker, the slowest pace, comfort with heights, fitness, medical needs and equipment. A route that’s comfortable for you might be extremely difficult for someone who’s on their first hike.
The goal is for everybody to get back safely - preferably having actually enjoyed the day.
Build Your Own Reference Points
When you’re new, numbers such as 15 km + 800 m elevation don’t mean much. That’s normal. The easiest way to learn is to compare hikes you’ve actually completed. After a hike, remember the distance, elevation gain, time and how you felt.
For example:
Distance: 8 km
Elevation gain: 250 m
Time: 2.5 hours
How did I feel? Comfortable
Next time, maybe try 10 km + 350 m. Gradually, you’ll build your own understanding. Eventually you’ll look at 18 km + 1,100 m and immediately have a rough idea of what kind of day that means for you. That personal experience is much more useful than any universal difficulty scale.
Beginner Warning Signs
If you’re choosing one of your first mountain hikes, investigate carefully when you see words such as exposed, scrambling, unmarked, route-finding required, steep scree, chains, cables, snowfields, river crossing, technical or via ferrata.
These don’t automatically mean you can’t do the route. They mean: don’t click “Start Navigation” until you understand what you’re getting into.
Mula Ancala Beginner Tip
When choosing a trail, don’t ask only: “Can I walk 12 kilometres?”
Ask:
How far is it?
How much elevation will I gain?
How steep is the climbing?
What is the terrain like?
Are there technical or exposed sections?
What will the weather and trail conditions be?
How much daylight do I have?
And then ask the most important question: Does this match the experience I have right now?
For your first hikes, choose something that looks comfortably within your ability rather than right at your limit. Finish it. Learn what the numbers actually felt like. Then make the next trail a little longer, steeper or more adventurous.
That’s how experience grows.
Don’t choose a trail because you want to prove you can finish it. Choose one that makes you want to go hiking again.
Start simple. Learn as you go. Every adventure begins somewhere.